Palette Mesh Optimization: Cutting Draw Calls in WebXR Scenes
Editor's note: this article was originally published in March 2019 on Construct Arcade, an early WebXR game platform. We're reposting it here, lightly edited with refreshed links.
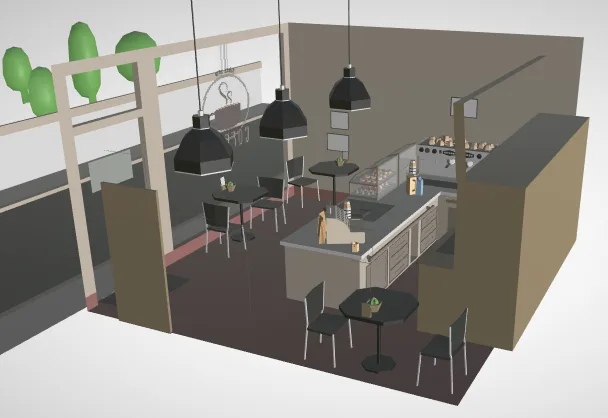
A low-poly coffee shop in WebVR
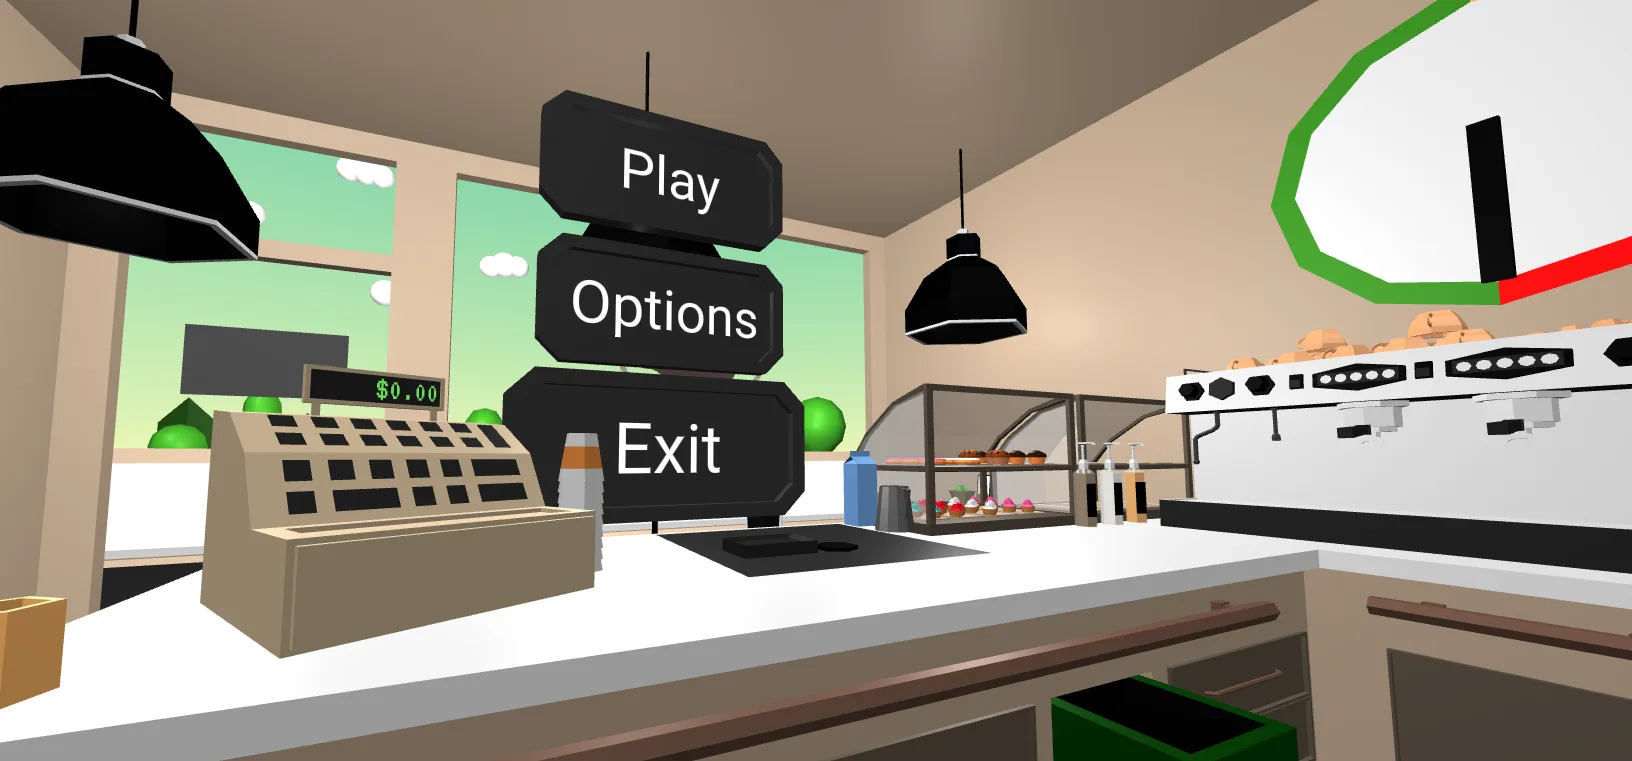
Coffee Game was the working title of our work-in-progress WebVR coffee house management game. You make coffee, serve your customers and earn money to buy new machines. (By the time this post first went out, the game had its real name: Barista Express.) With the scene being well above the size of the average WebVR game at the time, we had to do some custom optimization to keep it running smoothly on lower-end devices.
The café scene
The scene the game plays in is full of furniture and small decorative objects to immerse the player in the setting.
Our team had limited modeling capacity, so we settled on a simple low-poly, mostly textureless art style that even a programmer could imitate when making assets. In this case Florian, the game's designer and developer, ended up doing almost all of the modeling himself, with the exception of a couple of models we found on Google Poly (since shut down) or Sketchfab, which is the second benefit of this very popular art style.
Textureless means every color is encoded in material parameters, which results in a lot of materials. At the time of writing, the static parts of the scene contained:
- 43 materials
- 163 meshes
- 167 nodes
- 228 primitives
- 1 texture
Draw call count spiked to 200! That is not viable for most Cardboard devices, and it did not run well on the Oculus Go or Gear VR either. And these are only the static objects. Thrashing the GPU with 200 tiny draw calls (tiny because of the low-poly style) is not the way you want to roll.
Batching before export
So how about merging all the meshes together in Blender before export? Since there are mostly no textures in the scene, the textures do not need to be atlased, and this could be very easy.
Joining all the meshes would greatly reduce the number of meshes in the glTF file. There would still be one glTF primitive per material, which at best gets the number of draw calls down to 43. That is good, but we can do better.
Once you join the meshes in Blender, editing becomes much harder. One option would be a script that joins everything into a single mesh right before export, so you can keep the unjoined meshes around for editing, but that is extra hassle you want to avoid for a good workflow.
Vertex colors
Since the only difference between our materials is the base color, you might be thinking this is a great fit for joining all the meshes and converting the materials into vertex colors.
You would be right. The reasons we went for a slightly more complicated solution are a small improvement in file size, an easier scene-editing workflow, and easier viewing of the result in glTF viewers.
The glTF exporter for Blender stores mesh color data as three- or four-component float vectors, i.e. 12 or 16 extra bytes per vertex. Since a lot of vertices share the same colors, that is a lot of redundant information wasting space. Instead we use a PNG-like approach: save all the colors in a texture and use a simple index into this color palette rather than the full color per vertex.
On top of that, while vertex colors are supported by glTF, not every tool, viewer or rendering framework supports them trivially.
Finally, running the optimization as a separate automatic stage after export (think gulp watching the export directory and pumping the data through the pipeline automatically) rather than a manual step before export is a nice workflow improvement as well.
Palette meshes
Suppose you collect all the different colors in your scene and build a texture from them. It looks something like this:

Just like indexing into a palette for color-mapped PNGs, we can now "index" into this texture using texture coordinates. By setting the UV coordinates so that each vertex picks up the color of exactly one pixel, we get the same look with far less data. Since we have fewer than 64 distinct UV values, we can even get away with normalized unsigned short data for the texture coordinates. (Normalized unsigned byte data for texture coordinates is not supported by glTF, because the coordinates need to be 4-byte aligned.)
We implemented this optimization using gltf-pipeline, a Node.js command-line tool that optimizes glTF files, converts them to GLB and more.
Running the static scene through the pipeline with our custom stage, the numbers came out like this (before → after):
- Materials: 43 → 7
- Meshes: 163 → 10
- Nodes: 167 → 10
- Primitives: 228 → 10
- Textures: 1 → 2
- File size: 1673 kb → 1747 kb
The remaining draw calls and primitives come from transparent and alpha-blended meshes, which are not merged into the static batch. This way we can keep drawing the big batch with an opaque rendering pipeline and avoid draw-order issues with the transparent parts.
The 74 kb increase in file size comes from the added texture-coordinate data, and from meshes that appear multiple times in the scene having their geometry duplicated.
How to use it
Some of the changes we made to gltf-pipeline will be contributed upstream to the original repository. The palette mesh optimization itself does not fit upstream, though, as it is very specific to this art style.
We open sourced the code for this custom stage on GitHub: VhiteRabbit/gltf-pipeline-stages. Check out the repository and follow the example in the README. More custom stages will follow over time.
I hope you enjoyed the read and that our code helps you build bigger games. Have fun building VR browser games!
— Jonathan